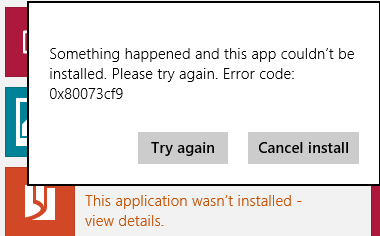
All over the world, computers are becoming an important part of almost all the people. You can use it for video chatting with your friends, helps you in getting the information from all over the world and many more. In order to make it work error free, you should constantly update your windows and make your system up to date. Keeping your system up to date keeps your system free from malware, bug and many other unknown problems. There are many apps that are available in the market. Such app helps you in performing specific task. Now suppose in case while installing an app on Windows you get an error message Something happened and this app couldn’t be installed Error Code 0x80073cf9, when you get this message, you would not be able to install any app on your system. In such cases how can it be fixed?
Steps to fix Error 0x80073cf9 while Installing Apps in Windows 10/8Here are the lists of steps by which you can fix the Error 0x80073cf9 while Installing Apps in Windows 10/8 has been mentioned below:
Method 1:
· In order to fix this error, you have to run the following in the Command Window to re-register the Store App:
powershell -ExecutionPolicy Unrestricted Add-AppxPackage -DisableDevelopmentMode -Register $Env:SystemRoot\WinStore\AppxManifest.XML
- While executing if you get error 0x8007064A, then the issue is related to the registry key "HKEY_CURRENT_USER\Software\Classes\Local Settings\Software\Microsoft\Windows\CurrentVersion\AppModel\Repository\Packages" which do not have SYSTEM as owner.
- Now, change the owner back to SYSTEM.
- Now in order to fix the system apps error, you have to run the following:
powershell -ExecutionPolicy Unrestricted Add-AppxPackage -DisableDevelopmentMode -Register $Env:SystemRoot\camera\AppxManifest.xml
powershell -ExecutionPolicy Unrestricted Add-AppxPackage -DisableDevelopmentMode -Register $Env:SystemRoot\FileManager\AppxManifest.xml
powershell -ExecutionPolicy Unrestricted Add-AppxPackage -DisableDevelopmentMode -Register $Env:SystemRoot\ImmersiveControlPanel\AppxManifest.xml
Method 2:
If the above given tricks works then it is fine and if it do not work, then in that case you have to re- register your Windows store Apps. This can be done in the following ways:
Step 1: With administrator privilege you have to press Windows + Q and then type powershell, it will show you the list of PowerShell and choose Windows PowerShell and run it.
Step 2: In the PowerShell window, you have to type the command given below and press Enter key and type the following:
Get-AppXPackage | Foreach {Add-AppxPackage -DisableDevelopmentMode -Register “$($_.InstallLocation)\AppXManifest.xml”}
After the process is complete then close the PowerShell and restart the system. And you will find the above-mentioned steps complicated then, in that case, it can be fixed with the help of Professional Windows 10 Pc Cleaner. Moreover using this software you can easily fix the issue.
For more information, visit:


0 comments:
Post a Comment